Bar Cart Makeover
Thank you to Velvet Finishes for providing the paint products for this project. All opinions and thoughts are my own.
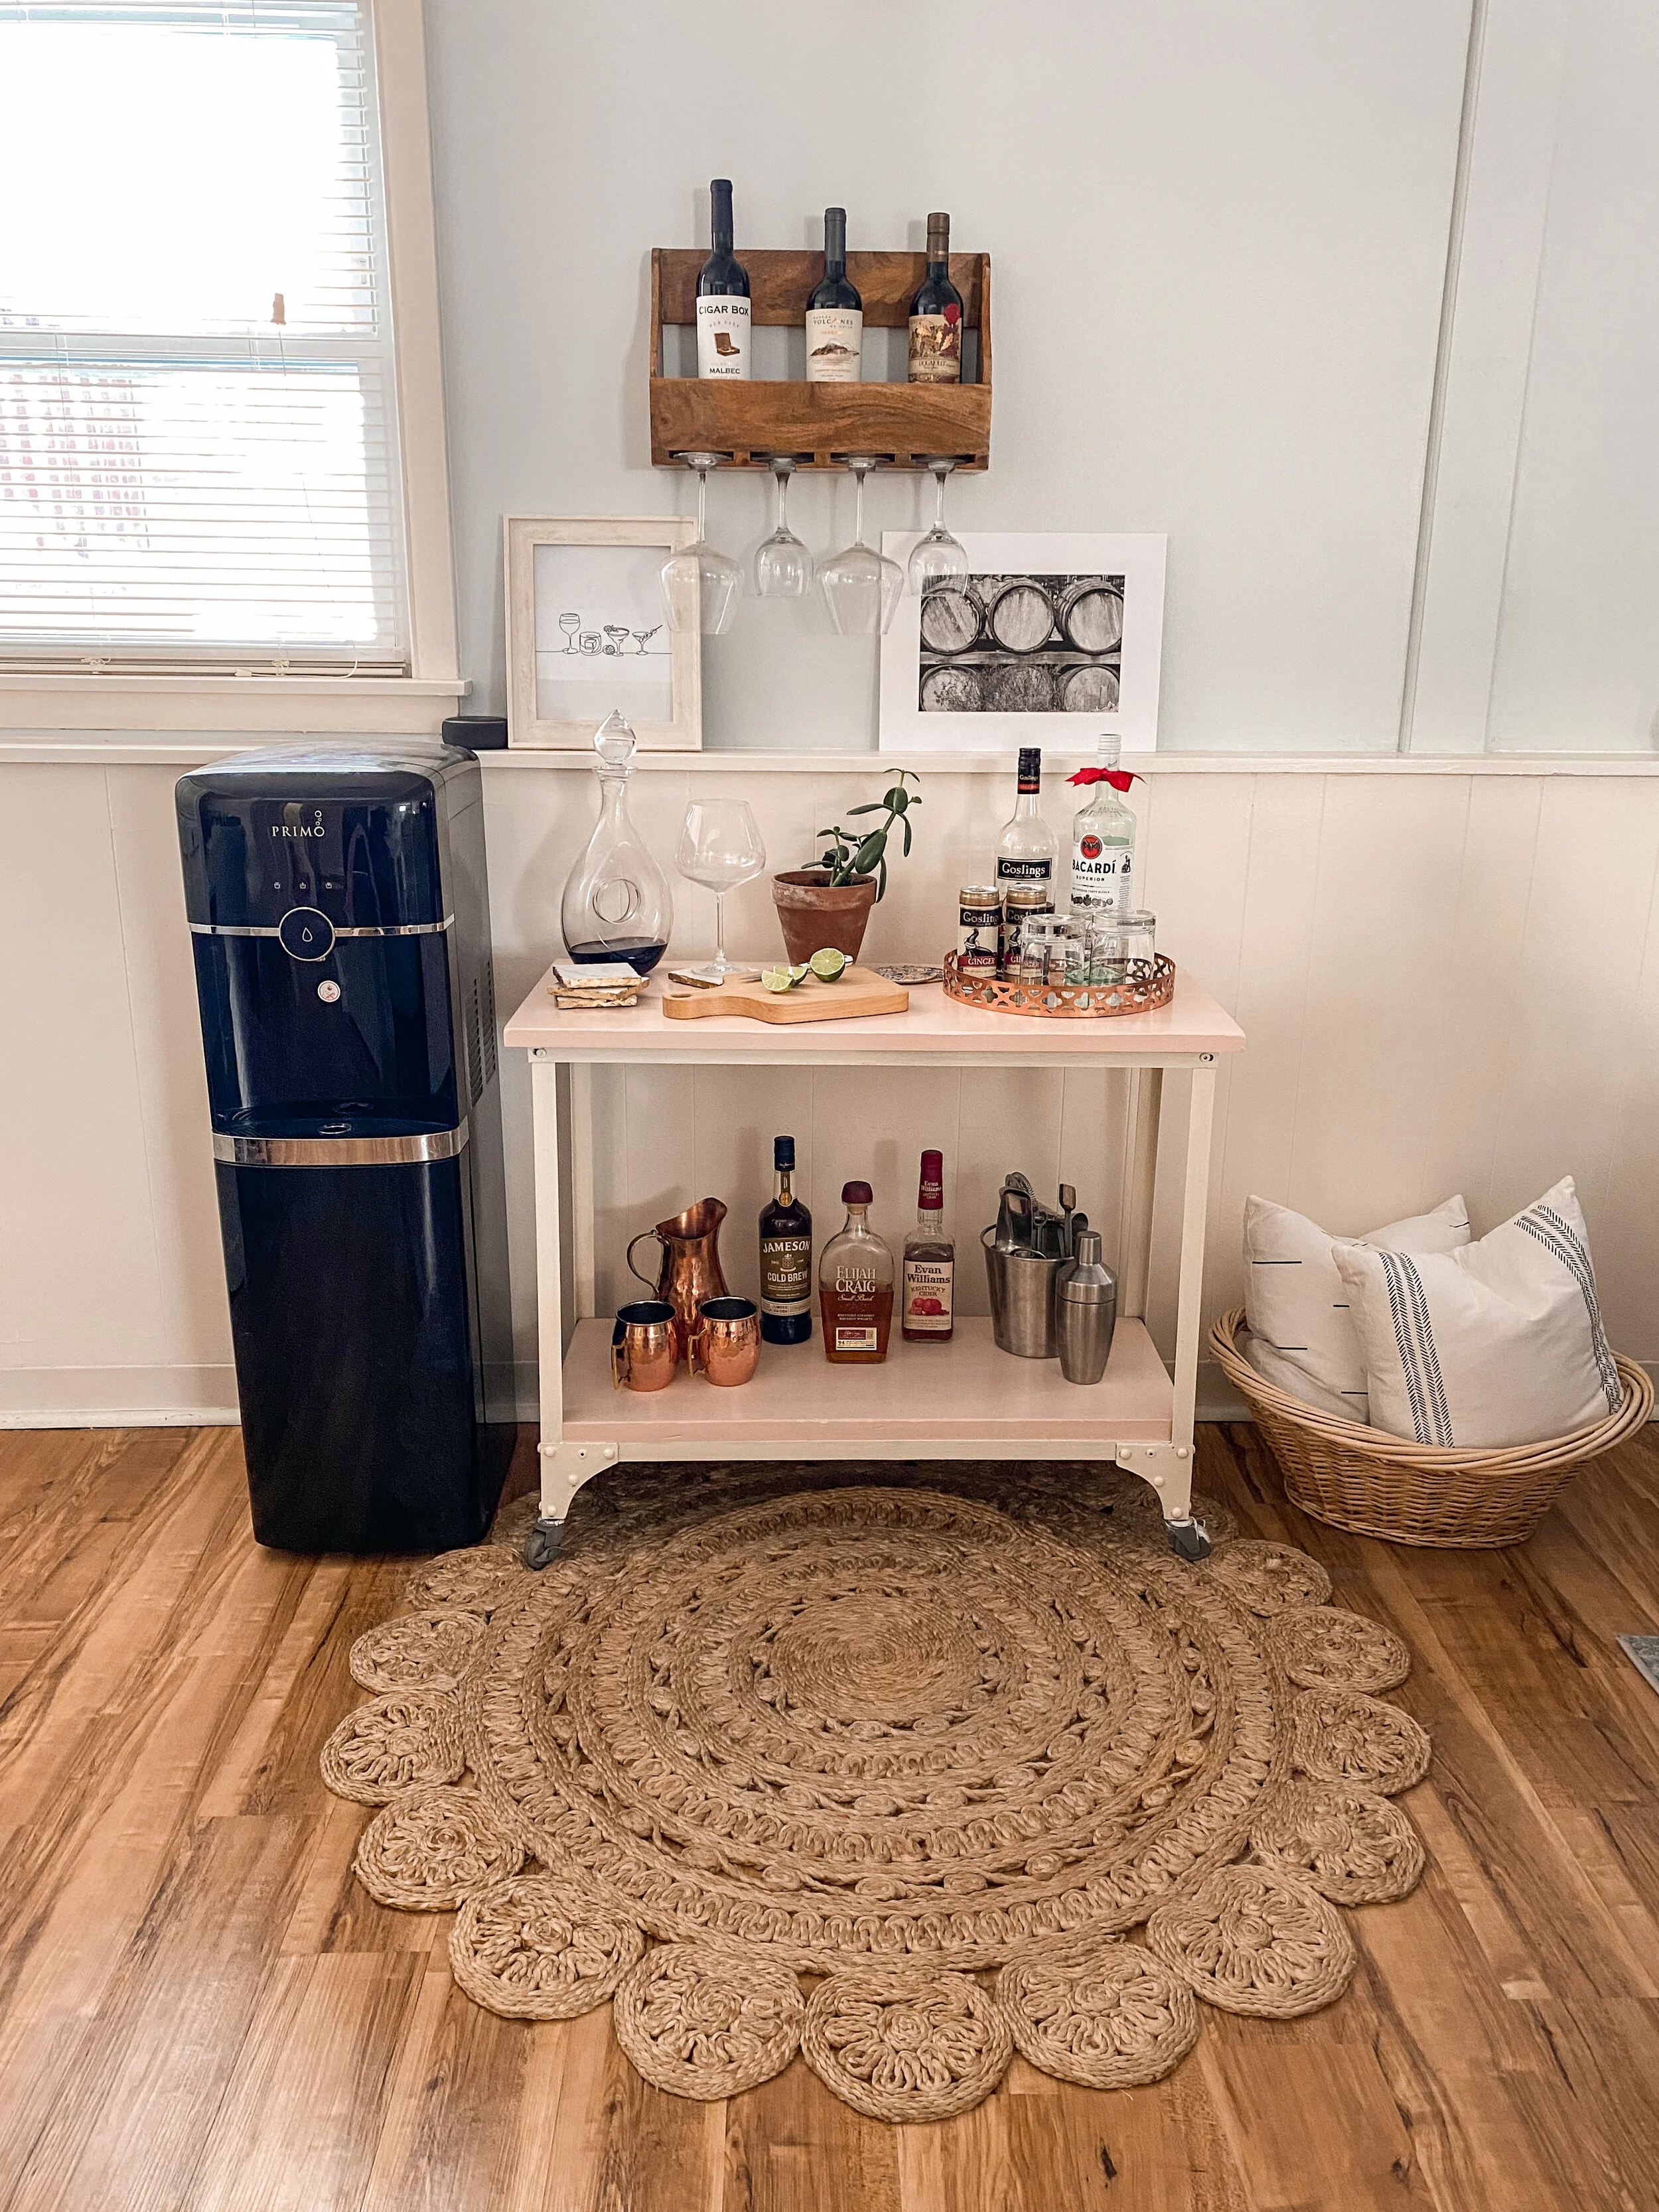
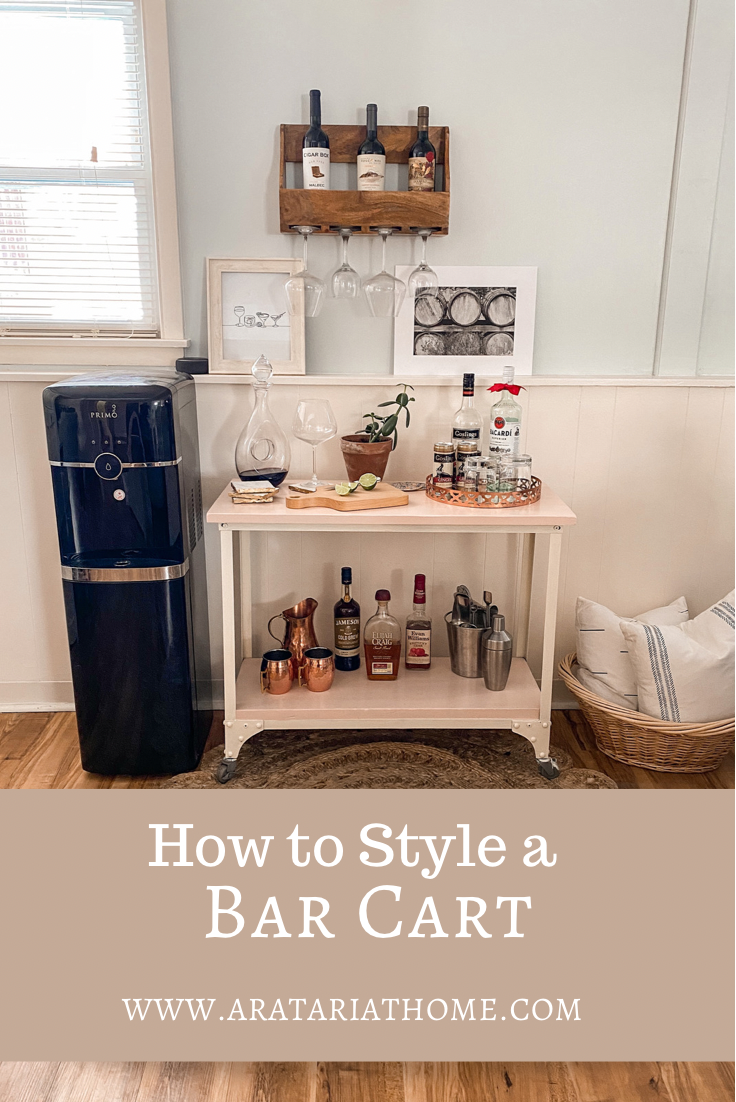
I wanted to give our bar cart area a mini makeover.
See our family room reveal HERE.
Our bar cart is down in our family room which is super multifunctional so I wanted this space to fit in with the rest of the room.
This post contains affiliate links. If you click on these links and purchase something, I make a commission at no additional cost to you. This helps to support my blog, so thank you SO much!
I wanted to give our bar cart a makeover because it just felt out of place with all of our decor and furniture in the family room. I wanted it to be a bit more functional too as it was just kind of randomly thrown together.
The bar cart felt very industrial and rustic and that isn’t the vibe I am going for so I wanted to switch it up. I knew painting it would be the easiest way to give it a makeover.
I knew with a little paint and reorganization, I could give the bar cart a whole new look and feel. It doesn’t have to be a big project in order to make a big impact!
BAR CART PROJECT
I used paint from Velvet Finishes to complete this makeover. It was super easy to work with and gave the bar cart such a different look.
I first used the READY product to prep the bar cart. This basically cleans and preps the piece. It deglosses it and gets it ready for paint. It’s in a spray bottle and super easy to use. I sprayed the whole piece and wiped it clean with a towel.
Next, it was time to paint. I used this gorgeous creamy white color on the legs of the bar cart which is called Rococo. It went on so smooth. I basically just slapped it on with no rhyme or reason. I used a regular paint brush, nothing fancy. It took 3 coats since the metal was so dark and I was going with a light color.
For the shelves, I used the color Nostalgic which is a pretty blush pink. I love the contrast of the pink and white colors together. It goes so well with the wallpaper across from the bar cart too! Wallpaper project can be seen HERE. I did 3 coats on here as well because I was going from dark to light.
After it had all dried, which was overnight. I used the PROTECT product which is a satin polycrylic. It went on so well. It helps to protect and seal the piece. It doesn’t add much of a shine which is really nice because the paint is pretty matte, which I really like!
I really enjoyed working with this paint as I hadn’t tried it before. I typically use chalk paint for furniture and this is not chalk paint, but was super simple to use and apply. Perfect for beginners and pros, alike!
BAR CART STYLING
Now, with 2 little kiddos, I don’t keep this super styled as seen here because little hands tend to grab things when in reach, but I had fun playing around!
I like to have a tray on one side to group glasses together. A little cutting board is nice for cutting up mix ins for all the different drinks. I like to have coasters readily available too.
Of course you’ll want all the different drinking glasses. I used wine glasses, high ball glasses, and moscow mule mugs because I think they look pretty! I also put out a decanter and a bar tool set with drink shaker.
I keep it super simple and just put out the things we need for making our favorite drinks. I did add a plant because every space needs a plant!
For decor, I found this super cute drink art print and I framed it. I already had this wine barrel photo which I thought was perfect for the space.
Lastly, I just added in all the liquor and any mixers for drinks. So easy!
A quick little makeover and this space looks so new and fresh. I love the power of paint! If you have some furniture you are looking to paint, check out Velvet Finishes!
SHOP THE BAR CART:
Be sure to sign up for our free newsletter to stay up to date with what is going on over here :)
Upon signing up, you will receive 3 gallery wall printables, 5 on the go Mom hacks, and gain access to our FB group! Scroll to the bottom of the page to join! We’d love to have you as part of our community!
Thank you for stopping by the blog!
XO
-LA
SAVE THIS POST FOR LATER, PIN IT NOW:

